10 February 2025
If you've ever daydreamed about reliving those epic days of arcade gaming—where quarters felt like gold and Pac-Man was life—it's time to turn that dream into reality by building your very own retro arcade cabinet.
Now, I know what you’re thinking: “Build an arcade cabinet? Isn’t that, like, super complicated?” Well, spoiler alert: It’s not as hard as it sounds. Sure, it takes some planning, patience, and a little elbow grease, but I’m here to guide you step by step so you can create something awesome.
Whether you’re a hardcore DIYer or someone who just wants to play some old-school Donkey Kong at home, this guide will walk you through everything. And the best part? You won’t need to sell your soul (or spend a fortune) to make it happen. 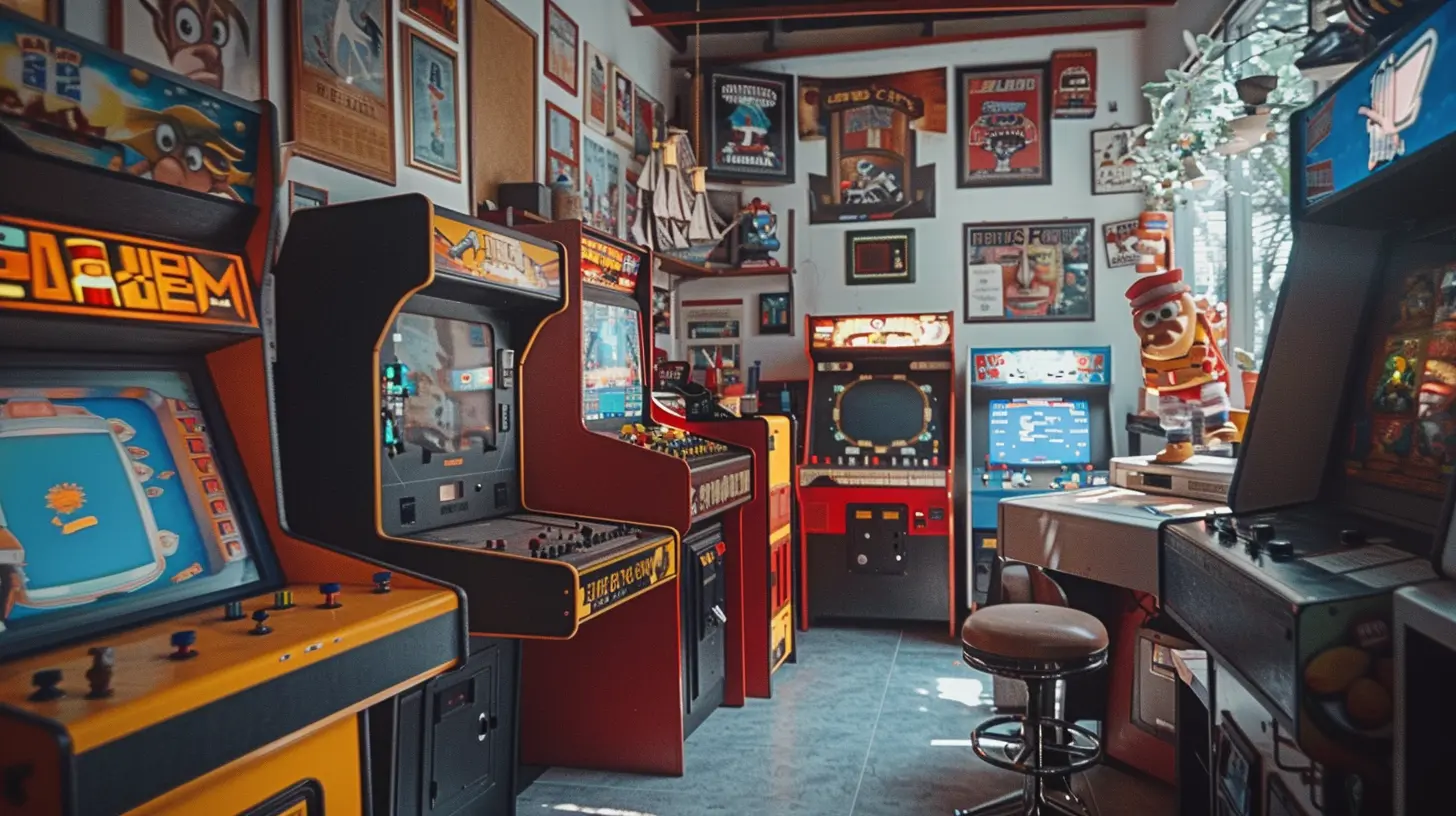
What You’ll Need to Build Your Retro Arcade Cabinet
Before diving in, let’s get our tools and supplies sorted. Think of this section as your ingredients list if you were baking a cake—except this cake is a throne for gaming greatness.Materials Checklist
1. Wood for the Cabinet- MDF (Medium-Density Fiberboard) is a popular choice because it’s sturdy and cost-effective.
- You’ll need enough to build the sides, top, base, and control panel.
2. Monitor/Screen
- You can repurpose an old computer monitor or even a small flatscreen TV.
- Aim for something between 17 to 24 inches for that classic arcade feel.
3. Raspberry Pi or PC
- A Raspberry Pi (preferably a 3 or 4) is an affordable and efficient option to run retro games.
- Alternatively, use an old PC if you’ve got one lying around.
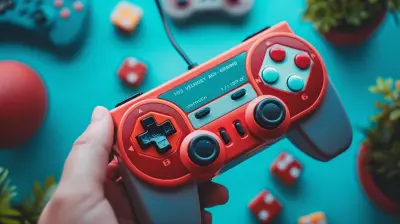
4. Joystick and Buttons Set
- These can be purchased as arcade kits online, which include the joystick, buttons, and wires.
5. Power Supply
- You’ll need a power supply unit (PSU) appropriate for your Raspberry Pi/PC and monitor.
6. Speakers
- A basic set of USB-powered speakers will provide that nostalgic arcade sound.
7. Software: RetroPie or EmulationStation
- Both are popular platforms for running emulated arcade games.
8. Miscellaneous Supplies
- Wood screws, hinges for control panels, paint or vinyl stickers, and a few tools like a drill, jigsaw, and screwdrivers. 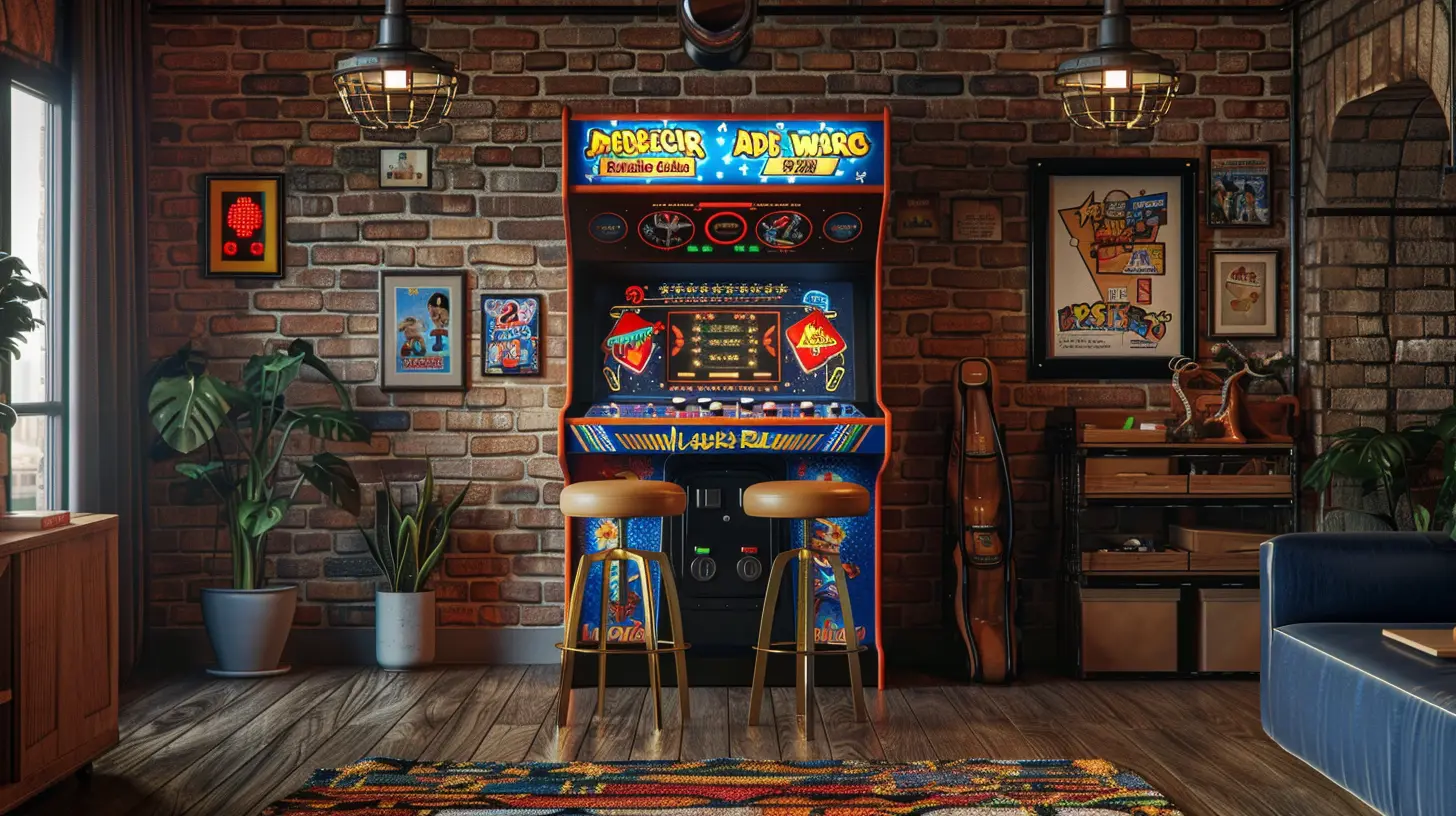
Let's Get Building: Step-By-Step Instructions
No need to overcomplicate things—just follow these steps and you’ll be gaming in no time!Step 1: Design Your Arcade Cabinet
First things first, you need a blueprint. You can either find free arcade cabinet plans online or sketch your own design based on the space you have available.A classic arcade cabinet typically has a vertical design with a sloped control panel. If you’re short on space, consider a bartop version, which is more compact but just as stylish. Keep in mind the dimensions of your monitor and how much space you need for the controls.
Pro Tip: Use cardboard or foam board to create a mockup before cutting your wood. It’s like testing the waters without diving in headfirst.
Step 2: Cut and Assemble the Wood
Once you’ve finalized your design, it’s time to cut your wood pieces. This is where your trusty jigsaw comes into play. Cut out the sides, the top, the base, and the control panel according to your blueprint.Sand down the edges to avoid splinters—it’s all fun and games until someone loses a finger (okay, not literally, but you know what I mean). After that, screw the pieces together. Start with the sides, then attach the base, top, and back.
Step 3: Create the Control Panel
The control panel is where all the magic happens. Drill holes for the joystick and buttons according to your layout. Most arcade kits include a template, so you won’t have to guess where things go.Once the holes are cut, attach the joystick and buttons, connecting the wires to your encoder board (usually included in the kit). This board will allow the controls to interface with your Raspberry Pi or PC.
Step 4: Install the Monitor
Now it’s time to mount your monitor. Create a shelf or bracket inside the cabinet to hold it securely. You want the screen to sit behind the front panel so it gets that cool "in-the-box" arcade look. Make sure to leave access for cables and ventilation.If your monitor has a stand, you may want to remove it to reduce bulk. Use mounting brackets or even Velcro strips for a snug fit.
Step 5: Set Up the Electronics
Here’s where the techy stuff happens, but don’t panic—it’s simpler than it sounds.1. Raspberry Pi Setup: Download RetroPie (or EmulationStation) onto a microSD card and insert it into your Raspberry Pi. Connect your Pi to the monitor and controls via HDMI and USB ports.
2. Connect the Power Supply: Hook up your Raspberry Pi and monitor to their respective power supplies. If you’ve got speakers, connect them as well.
3. Test Everything: Boot up the system and make sure your monitor, controls, and sound work as they should. If something’s off, double-check your wiring and connections.
Step 6: Customize Your Cabinet
Now for the fun part—making your arcade cabinet look amazing. Paint it, slap on some decals, or cover it with printed vinyl art. The sky’s the limit.You can also add LED lights for a modern twist or even install a coin slot for that authentic arcade vibe. Just don’t charge your friends to play… unless, of course, you’re trying to make your money back. 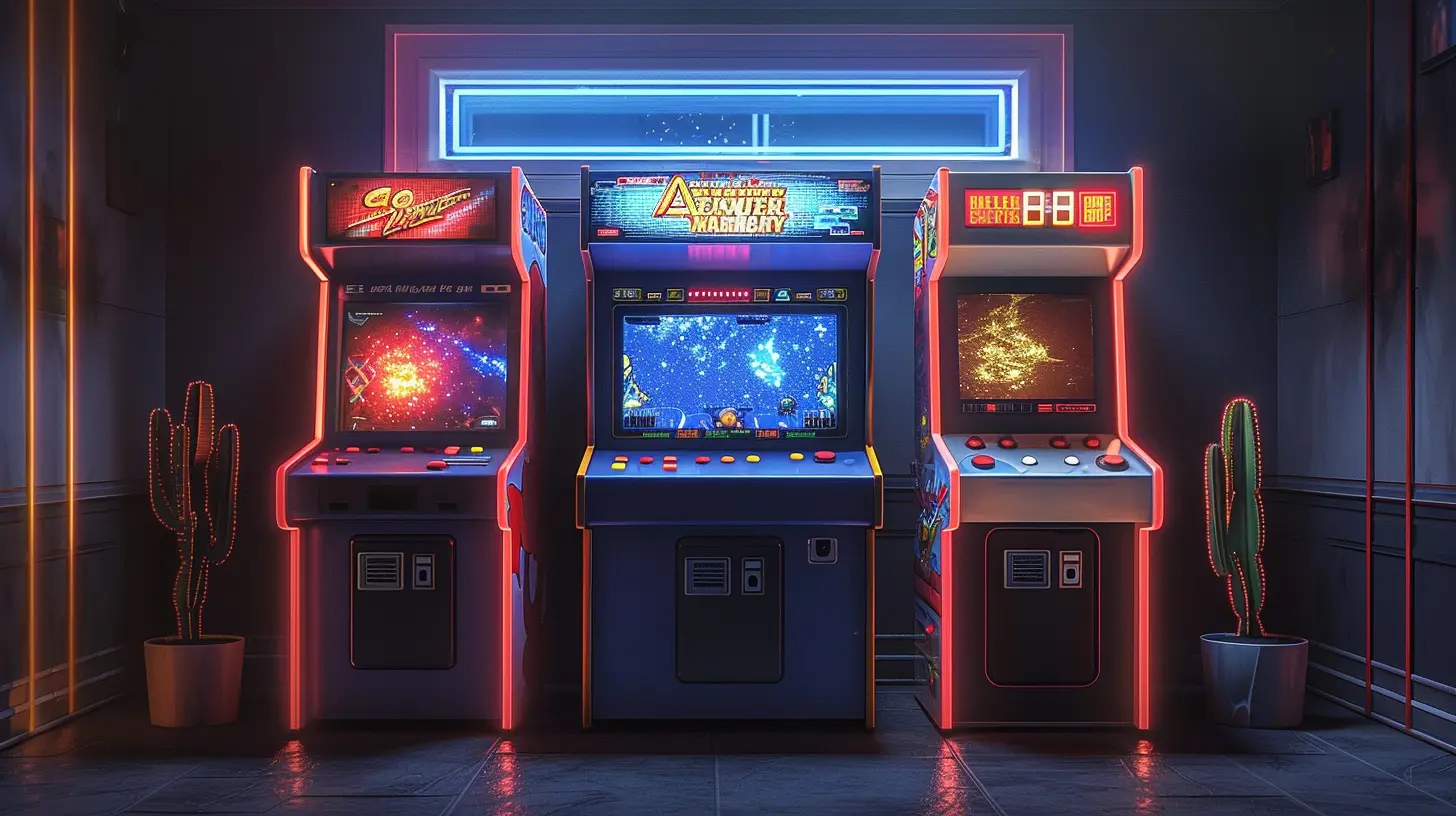
Tips for Success
1. Take Your Time: Rushing through this build is like speed-running a game on your first try—you’re probably going to mess up. Slow and steady wins the race.2. Measure Twice, Cut Once: That old carpenter’s mantra exists for a reason. Double-check your measurements before cutting anything.
3. Get Creative: Want a Star Wars-themed arcade? Go for it. Prefer a minimalist look? Keep it simple. This is your personal arcade cabinet, so make it yours. 
Why Build a Retro Arcade Cabinet?
Let’s be honest—there’s just something magical about playing retro games on an actual arcade cabinet. It’s not just about the nostalgia; it’s the feel of the joystick in your hand, the satisfying click of the buttons, and the immersive experience that no modern console can replicate.Plus, building your own cabinet is a legit bragging right. It’s part tech project, part art piece, and 100% awesome.
Final Thoughts
Building a retro arcade cabinet is an incredibly rewarding project. Not only do you get to relive those childhood gaming memories, but you also end up with a unique piece of functional art. And trust me, nothing beats the feeling of firing up Street Fighter II on a machine you built with your own hands.So, grab your tools, channel your inner DIY hero, and let’s get building. Who needs quarters when you’ve got your own arcade at home?


Avery McAdams
Building your own retro arcade cabinet is a rewarding experience that combines nostalgia with hands-on creativity. The step-by-step guide simplifies the process, making it accessible even for beginners. Just remember to choose quality materials and plan your design carefully. You’ll enjoy countless hours of gaming once it’s complete!
March 15, 2025 at 4:15 AM